

Ronni Lundy’s Victuals can be found/purchased at your local book store or on Amazon.
I’ve gone through a few stages in my cooking journey thus far. I call them “kicks” and I’ve spent my kicks having a go at muffins, breads, and of course biscuits. I dabbled in pies for a couple weeks not long ago and now I’ve circled back around to them. I’m currently baking nothing but “chess” or “jes” pies because I’m holding off till summer to make fruit inspired ones from fresh/local produce. My spouse Lauren says I make nothing but “Depression era pies,” but I’m just found of the minimal beauty and flavor found in buttermilk, vinegar, and brown sugar pies. As with most anything one hopes at getting proficient at; practice and repetition is a must. When I first started with pies I would make a single crust, but since adapting this pie crust by Ronni Lundy (yes, I’m referencing Lundy again) I’ve found a sweet spot which produces 3 pie crust that I then use to bake over the course of a week.
Here’s what you’re gonna need for ingredients,
3.5 Cups of all purpose flour(more for dusting), TBSP of sugar, 2 tsp of salt sea, 2 sticks of unsalted butter (I’ve made do with salted butter as well, just toss some of the 2 tsp of sea salt to offset), large egg, 1/2 cup of ice water, TBSP apple cider vinegar.

Grab a whisk and your mixing bowl and combine the flour, salt, and sugar. Grab your two sticks of butter and cut into “square pads,” then quarter the pads. Add these to the flour, salt, sugar mixture. Using a pastry cutter (or fork, knife, fingers) work down until the butter pieces are about the size of a small pea.
In a separate bowl crack your egg and then beat it lightly. Add the half cup of cold ice water to it along with the vinegar (I like to have extra water on stand by as I always use just a bit more later on if the dough is shaggier then I like). Mix the egg, water, and vinegar together.
Finally, add your liquid to your dry ingredients ( I prefer using the “well” method) and stir with a wooden spoon or spatula. Be careful not to over mix. If the dough seems to shaggy add more of the ice water. If it’s a little wet add a bit more flour. You’re looking for something that resembles the below image,

A good indicator that you’ve found your “sweet spot” is you’ll less and less dough on the side of your bowl.

Grab yourself a scale and measure out 3 approximate pieces of dough. You’ll then give them just a little shaping, making them into small discs. Bag them or store them in a container and place them in the fridge.

If you plan to bake the same day, give the dough at least an hour in the fridge before using. If you plan to use it the next day or later that week, I recommend removing it at least a half hour before trying to roll it out. Fast forward a bit; with a combination of practice, skill, and some luck…you’ll end up with something like this,
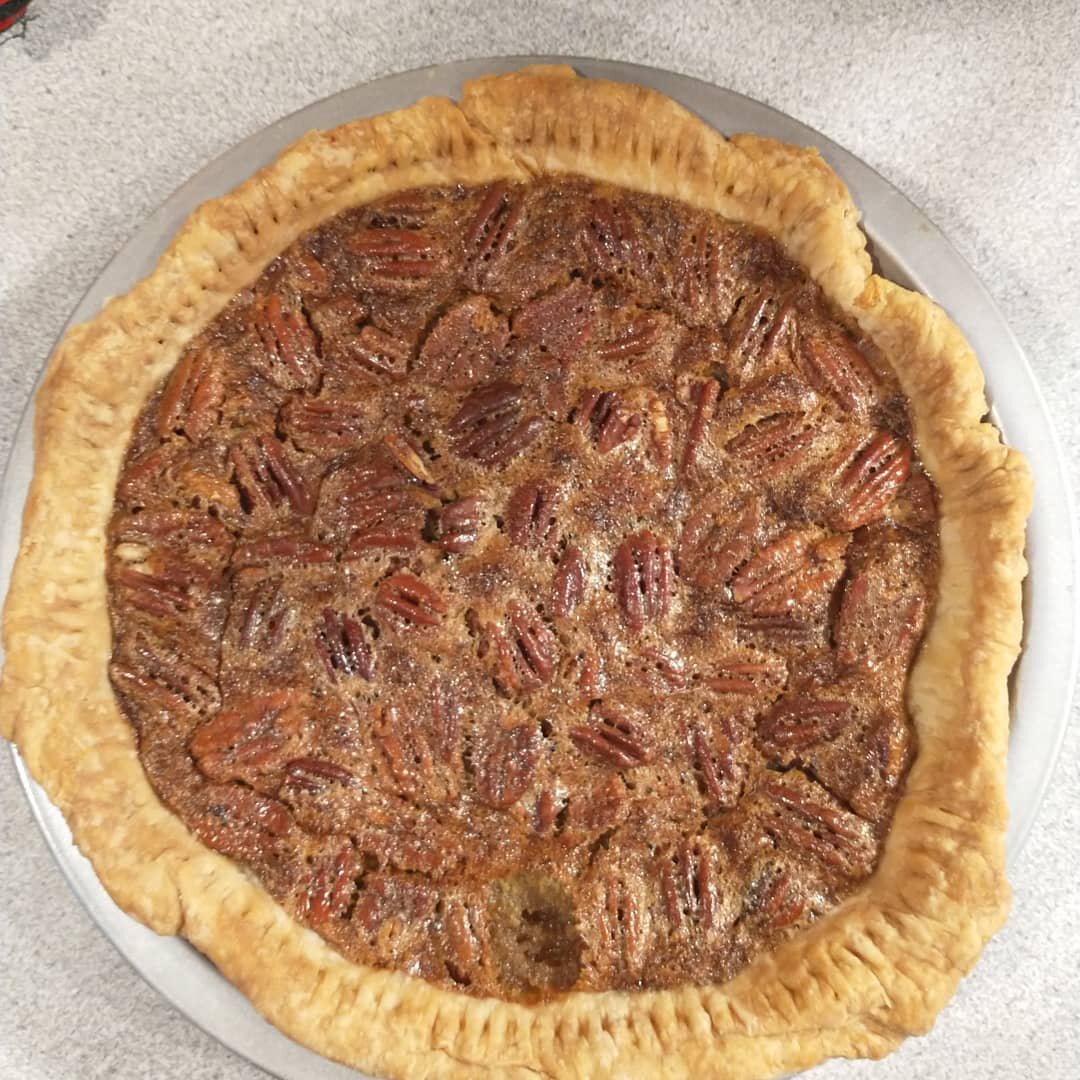
My first “successful” pecan pie. Look for a write up on it soon!
Chewing the fat…
It took me a while to get this ratio down for what I wanted to do. My tweaking’s changed Lundy’s amounts here and there. Her recipe made 4 pie crust, but I discovered through my “newbie” baking status that working with her amounts gave me very little of a forgiving learning curve. When I tried rolling out 4 crust they were a little too thin for my liking, and I attribute that more to my skill set than to her recipe. Adaptability I’m coming to understand is crucial when one enters the kitchen and tries new things. I both rely on a tradition of doing something a particular way, but I’m also given some range to make it my own so that it works well for me. That’s invitational and relational in that I’m receiving something special and am trying to offer something back to it that’s just as life giving.
I also learned it doesn’t take much to burn a pie crust! Until I started utilizing tin foil around the edge of the pie tin my crust would be over baked every time. I since invested in a nice “pie crust protector” that has really helped.
I’ll end our time with this, go easy on yourself if you’re just starting out. It doesn’t take much to muck something up when it goes in the oven. It took me 4 tries and 3 different recipes before my pecan pie came out as something presentable (not to mention the discouragement I harbored when people kept telling me it was an “easy” pie to bake). Sometimes our bakes are edible and sometimes there not. I’ve had to scrap a more then one bake attempt, and while I loath the idea of wasting, I also know I don’t have to eat or feel guilty for not eating everything that’s put in front of me. Take you’re experimenting with a couple of grace filled grains of salt and look for progress with each attempt. Build off what you learn and for God’s sake find some folks to share it with!
As you were,
~tBSB